Composition and Framing
Drones can give you a bird’s eye view of the world in ways that traditional photography cannot. This allows creative photographers to explore new angles and discover new ideas.
However, this also means that framing drone photos is a little different than framing regular photos. The logistical limitations make composition a bit more difficult than it is with regular photos.
Composition
Drone composition and framing is all about making the best use of the camera’s vantage point to create compelling images. It’s easy to get carried away with the sweeping shots and angles that you can capture with drone photography, but it’s equally important to think carefully about the framing and how the image will look from the ground.
Composition is the process of arranging the elements in an image so that they are pleasing to the eye and tell a story. This includes deciding how to position the main subject of the photo within the frame, as well as how to treat any negative space that may be present in the image.
A good rule of thumb to follow when composing drone photos is the rule of thirds, which states that your images should be centered on the subject and contain a narrow border around it. This helps to focus the viewer’s attention on a specific part of the picture, creating a stronger, more compelling image.
It’s also a good idea to use a wide-angle lens when shooting with your drone. This will allow you to capture more of the landscape from above, ensuring that your photographs have a greater sense of scale.
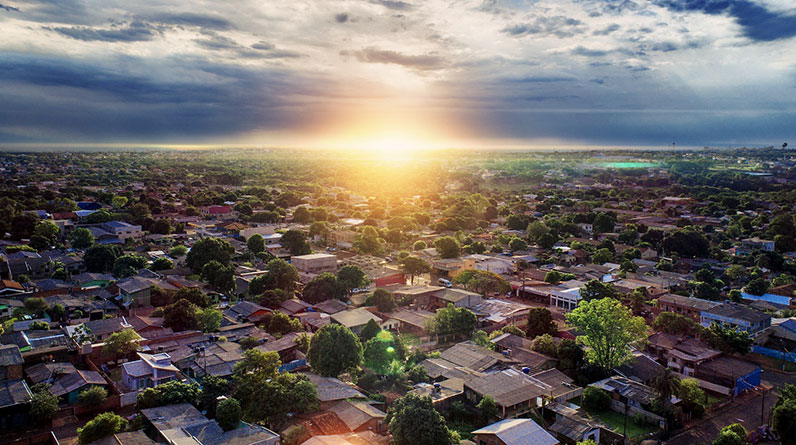
Another way to improve your drone photographs is to use different exposure modes. Most modern drones allow you to choose from a range of settings, including auto-bracketing which allows you to take multiple exposures at different exposure levels. This will produce a higher dynamic range, which is particularly useful when shooting high-contrast scenes like sunsets.
Taking images with multiple exposures will ensure that the most critical areas of your picture have the right level of light and shadow to convey their true nature to the viewer. In addition, you can adjust the brightness and contrast of each shot so that the final image has a more even tone across the entire scene.
There are many things you can do to improve the way that your drone photographs look from above, and it all starts with finding a great location. This can be a difficult task, especially when you’re dealing with unfamiliar terrain, but it can be done. Luckily, there are plenty of really great photo spots out there to scout from the air.
Rule of Thirds
The rule of thirds is an important composition tool that can be applied to drone photography. It’s a simple yet effective way to compose and frame your shots, helping you to create an image that looks good and feels natural to the viewer.
The basic principle behind the rule of thirds is that there are four distinct intersection points in a photo that can be used to align your subjects, leading lines, and other key elements. These intersections and gridlines will make your photos more interesting, balancing out the empty space in the rest of the photo.
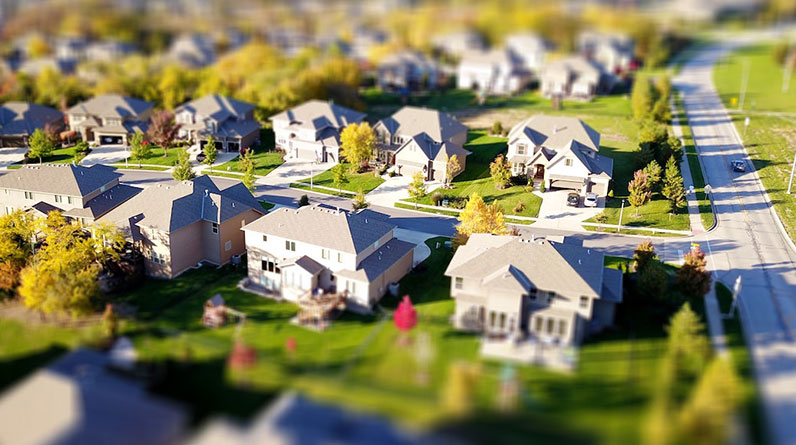
This technique works well when you’re shooting portraits or group shots with people, as they can be grouped together along these intersecting points, giving your subject more emphasis. It also helps to balance the composition of the entire shot, and prevents it from feeling too crowded.
When composing shots with people, it’s also helpful to position their eyes at one of the top two intersections, as they are naturally drawn to these areas. This also leaves some space where their eyes are directed, which can add to the overall aesthetic of the picture.
While the rule of thirds is a simple concept, it’s important to remember that it’s just a guideline. It’s also important to use other composition techniques, such as symmetry or focusing on the focal point, to help you create the strongest image possible.
For example, when framing a landscape photo, it’s often useful to place the horizon along one of the horizontal grid lines, which will open up more of the sky and allow for other interesting objects to be included in the frame. Similarly, vertical objects like trees or buildings can be positioned along the top or bottom grid lines to create a more dynamic and pleasing composition.
The rule of thirds is a valuable technique for aspiring photographers, particularly newcomers to the art of composition. It encourages them to think about their photographs more deeply and makes them aware of how they’re presenting the image to the viewer. This will help them to create a more interesting and engaging image, which can lead to better results in the long run.
Symmetry
Symmetry is a mathematical concept that is commonly used in composition. This is because it reflects balance and order, which is key to creating an effective image.
Whether it’s in a shape, line or pattern, symmetry helps create a pleasing or tension-driven image. When you’re out on location and taking photos, look for symmetrical elements, shapes or patterns to add balance and interest to your drone images.
The first step in drone composition and framing is to scout a location. That way, you can plan where you want to shoot, what time you want to fly and how you want to frame your subject.
Drone scouting can be as simple or as involved as you like, but the goal is to find the best possible location to capture your subject. It’s important to note that location is not the only factor in a good drone photo – it also comes down to the quality of your equipment, the type of subject and how you want to capture it.
Once you’ve found the perfect location, it’s time to assemble your gear and get ready to fly! You may want to turn on your drone’s grid overlay function (most drone models have this feature) so that you can focus on composing the shot.
When flying a drone, it’s important to keep the camera in a vertical position for the majority of your shots. This will help to avoid the dreaded bokeh effect, which is when your drone’s camera produces a soft, blurry background.
In a vertical shoot, you’ll want to overlap your photos by about a third. This will give you a better look at your subject and make it easier to crop the image later on.
You’ll also need to adjust the aperture and shutter speed manually, as most drone cameras have a fixed aperture and ISO setting. Once you’ve adjusted these settings, you can then set the white balance and focus your camera on a specific part of the scene for the entire shoot.
In addition, don’t forget to play around with your color scheme! Use a variety of shades to add drama and dimension to your images.
Focal Point
The focal point is a vital component of any great photograph, and it can have a huge impact on the overall look of an image. A photo without a focal point is flat and uninteresting, and will likely not attract the viewer’s attention or hold it long enough for them to truly appreciate its details and meaning.
A focal point in a photo can be defined as the subject of the photo or anything else that takes center stage and is most prominent in the picture. This can include things such as a person, a landscape or something more abstract like an element of light or shadow.
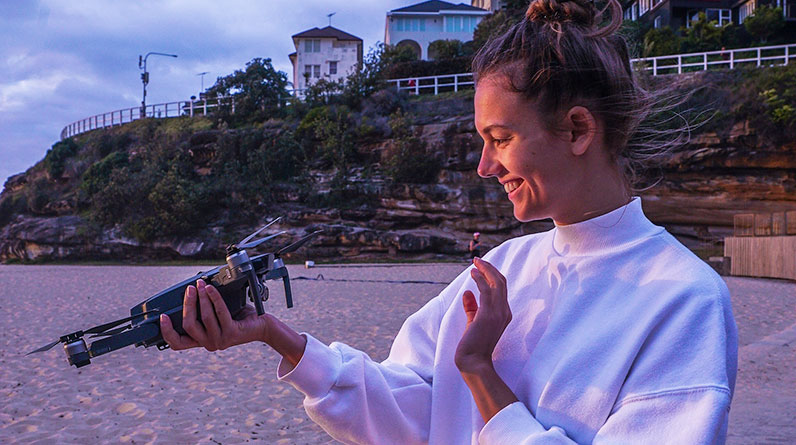
Often, a photographer will use the focal point to convey a specific message or concept. This can be as simple as a focus on an earring, or as complex as a photograph that captures a single moment in time.
When it comes to drone photography, the focal point can have a significant influence on composition and framing. While the rule of thirds is a useful guideline when it comes to creating a focused photo, the photographer also needs to consider his or her own particular vision and artistic style.
In general, a focal point in a photo should be sharp and clear. This can be done by using the appropriate aperture or depth of field settings.
Another important aspect of the focal point is size. The focal point is most effective when it’s smaller than the background or other elements of the scene. This helps to draw the viewers’ eyes to a specific area and is one of the first things that a professional photographer will learn.
Focal points can be a lot of fun to experiment with and can be used to add some uniqueness to your photos. It’s important to keep the focal point in mind when choosing the location of your shot, and you should always try to get it as close as possible to the horizon so that you can create a compelling panorama.
A focal point is a very important part of drone photography, and it can help to make your shots more memorable and appealing to your audience. However, you should be aware of the fact that it can be challenging to get it right. For example, you may need to adjust your exposure settings and white balance manually in order to get the best results.