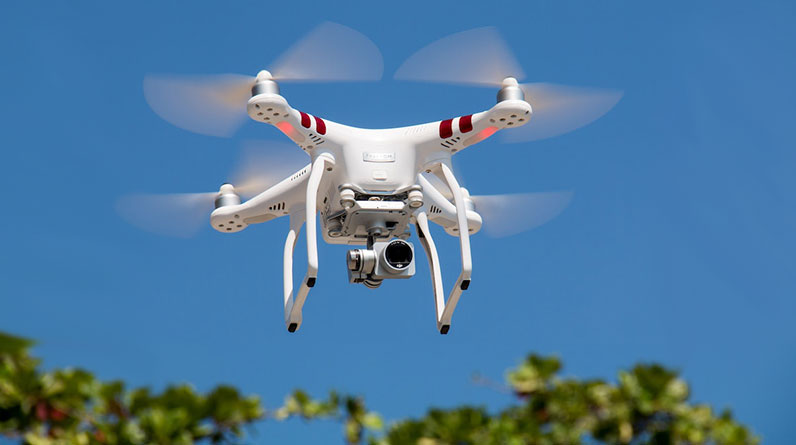
Drones for Cinematography
Drones have democratized cinematography and made it possible for everyone to shoot stunning footage. But there are a few things that filmmakers need to know when using drones for cinematography.
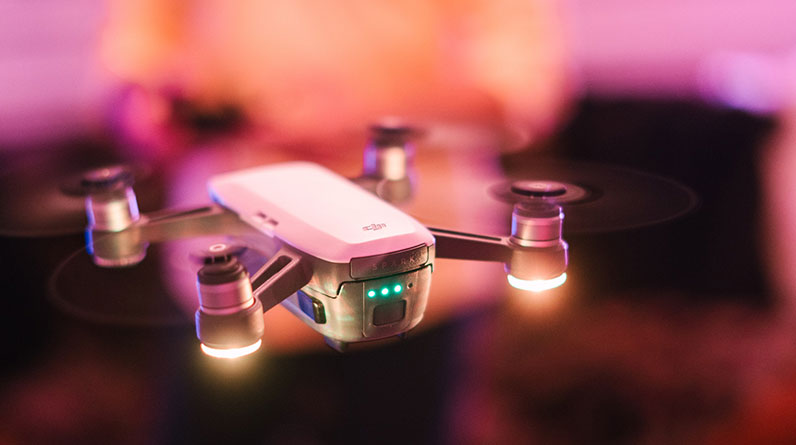
First, keep an eye on the weather conditions and make sure to cancel a shoot if it looks too windy. This will ensure that your footage is stable and cinematic!
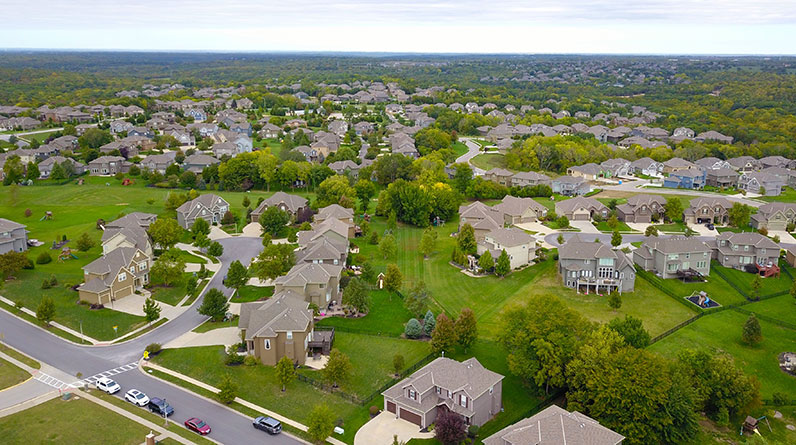
1. Top Down
The drone is a tool that many photographers and cinematographers are using in their work. They offer new perspectives and can add a dynamic element to videos that would otherwise be difficult or impossible to capture.
Drones are also a fantastic way to create transitional shots that help your audience move from one part of the film to the next. These can be simple, like a bird’s eye view shot, or more complex, such as a reveal shot.
Whether you’re shooting for a small film or a high-budget blockbuster, planning your shots and repertoire of different camera motions can make all the difference. For example, if you’re filming an action scene and want to use the camera to create dramatic effects, a revealing shot is ideal.
This shot is easy to pull off and looks cinematic. The trick is to get the camera down in front of your subject, focusing on them. Once they’re in frame, slowly move your drone back and up to reveal them. Practice these movements slowly and control them to create smooth, professional-grade footage.
Another great option for a revealing shot is to use a pull-away shot. This is a common drone shot and looks very cinematic when done correctly. Start by hovering your drone in front of the subject, focusing on them and then gradually moving the camera away from them, panning right or left as you go.
You can also use a combination of these shots to create more dramatic effects. This is a good idea for landscapes or cityscapes, as it can give the viewer a sense of scale and immerse them in the environment.
2. Tracking
As drones become cheaper and more accessible, filmmakers can use them to create a variety of cinematic shots that were once out of reach. Drones can be used to film from all angles, but one of the most exciting uses for a drone is tracking.
Tracking can be a great way to create a powerful establishing shot or even set up a second camera. It’s also a good way to add a sense of scale to your environment, especially when shooting in large landscapes.
When using a tracking movement it’s important to get the drone centered and keep your subject in focus. To make sure you do this, you’ll need to rehearse and practice as many times as possible before you shoot.
There are several different types of tracking shots you can use when using a drone including the follow track, lead track and sidetrack. These can all be really interesting and can really help to enhance your footage.
First up is the follow track which is where you film from behind your subject as they walk or run. This is a great way to get close to your subject and show off their body language as well as what they’re doing.
This can be done in a number of different ways but I recommend getting the drone as high as it will go and then slowly moving it up until it reaches your subject. Be careful not to fly too far though or the drone could hit them.
Another way of doing this is to follow the subject backwards, ensuring that they remain in frame and stay in focus. This can be a very powerful shot but you need to be really careful not to let the drone fly into your subject as this could really hurt them!
3. Rotate
When you use a drone for Drone Cinematography, you’ll want to be able to manipulate it in order to get great shots. You can do this by rotating your drone, changing its direction, or by orbiting around a subject.
Using your drone for rotation can be challenging, but it can also be an excellent way to get unique and creative footage. It’s not as easy to pull off as it looks, however, and it can take a lot of practice and patience.
To start with, you should get to know your drone well. To do this, you’ll need to rotate (yaw) it a few times and adjust its direction.
This is an important lesson to learn, because it will help you produce more cinematic moves in the future. In addition, it can help you learn how to control your drone and make the most of its flight capabilities.
Rotate your drone to a slight angle, then fly it left/right and forwards/backwards until you feel comfortable flying in different directions. It’s important to note that each of these movements will affect how the drone moves, so it’s essential to pay attention to what you’re doing as you’re learning how to maneuver your drone.
Once you’re familiar with your drone’s yaw and throttle, you’ll be able to use it for more complex camera moves. For example, you can do a Helix by flying downwards and then turning the drone simultaneously.
This move is an excellent choice for a reveal shot that will surprise your audience. This is a powerful movement that requires a lot of speed and maneuvering in order to pull off, so be sure you are comfortable with this before trying it out!
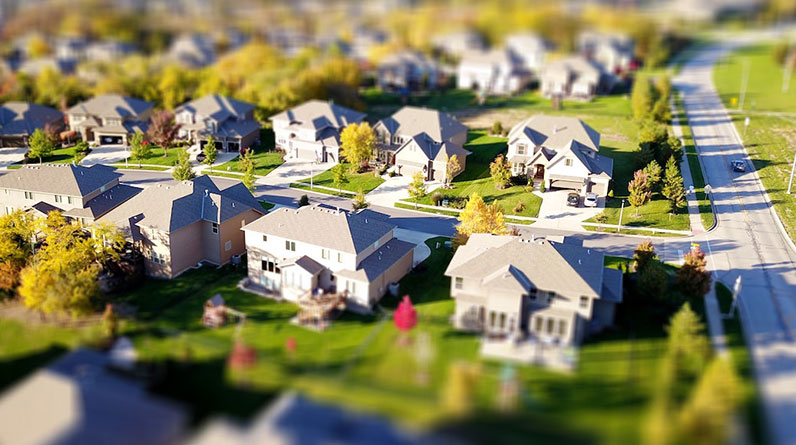
4. Pull Back
Drones can do more than just fly – they can be used for some really impressive cinematic effects. Whether you’re filming a slow motion action scene or trying to capture the grandeur of a breathtaking landscape, you’ll need a solid understanding of drones and how to use them effectively in order to get the best results possible.
The first step is to know what kind of drone you need for your particular purpose. A good rule of thumb is to choose a model that offers the best photo resolution (e.g. 12MP sensor) and video resolution (e.g. 720p at 30fps).
There are plenty of options to choose from, and it’s important to understand which ones will work best for your specific needs. For example, if you’re filming a landscape, you may want to stick to a fixed camera angle rather than shooting from the sides, so that your footage has a more cinematic feel.
You’ll also need to find the best location for your drone shots – preferably somewhere with an unobstructed view. This will help you to avoid camera shake and other annoying hiccups that can ruin your shots, and ensure you have a smooth video that can be edited without the need for post-production work.
Using your drone for a cinematic shot requires a bit of planning, but it’s well worth the effort. You’ll find it pays off in the end with photos that are more visually engaging and will stand out from the crowd in a big way.
5. Orbit
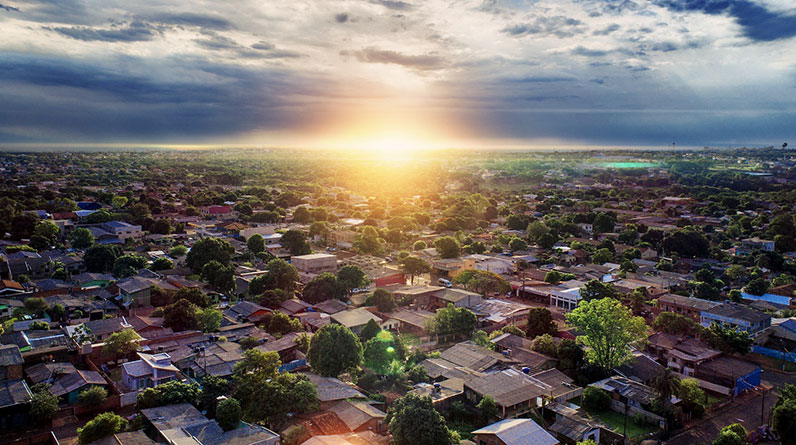
Orbits are a powerful cinematic effect that can quickly push your drone videography from beginner-level to advanced. This circling motion keeps the subject in the same place in the frame as the background changes, creating a dynamic parallax effect that’s beautiful and compelling.
If you’re shooting a landscape, this movement can be particularly powerful. Filming someone up a mountain, for example, or on top of a building creates an orbit shot where the scenic background looks spectacularly parallaxed around them, forming a breathtaking, dramatic backdrop.
Another common use of an orbit shot is to showcase an entire building in a single frame. This is achieved by rotating the camera slowly up and down, and panning left and right.
To get the best orbit shots, keep your drone as stable as possible – just like you would do with a DSLR and tripod. This will reduce the likelihood of capturing blurry or difficult-to-blend images, and help you deliver high quality HDR imagery.
Once you’ve got your drone up in the air, it’s time to compose and frame the shot. It’s important to consider the focal length of the lens, as this can change the perspective of your subject and how they appear in the shot.
Choosing the right lens will help you capture a sharper image and add depth to your footage. There are many different options to choose from, including wide-angle, telephoto, or fish-eye lenses. All of them have their advantages and disadvantages, so take your time and choose one that suits the context of your shot.