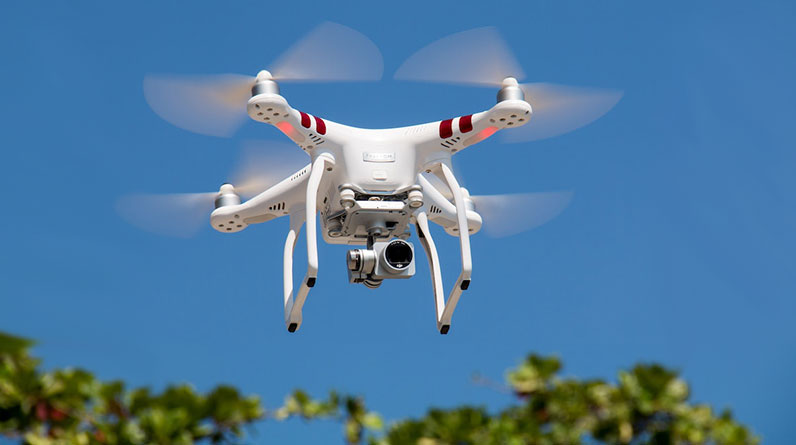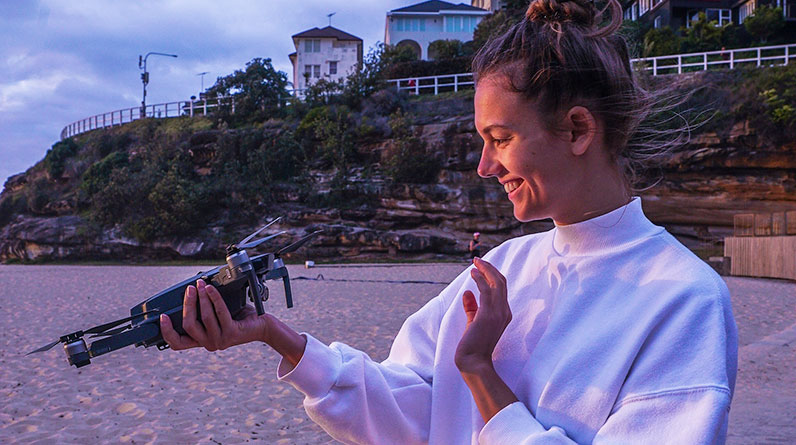
Getting Started With Drone Photography
Drone photography is a whole new way to capture the world from above. It is both challenging and rewarding.
It is important to set your camera settings right so you get the best possible results. This is not only about adjusting your shutter speed and ISO but also about the white balance you want.
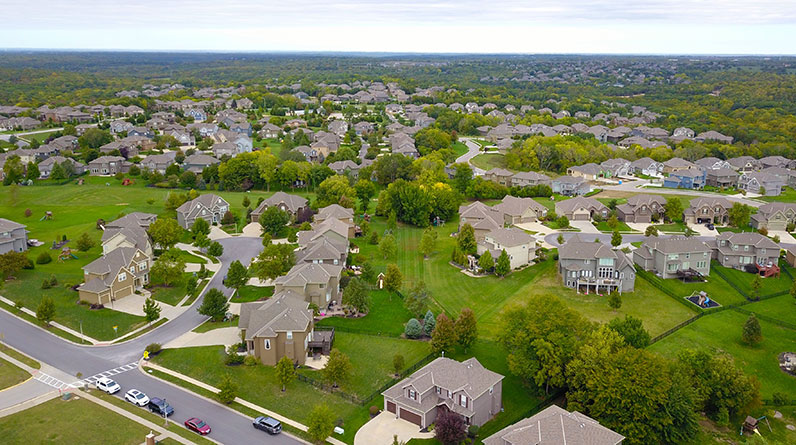
Drone Image Composition
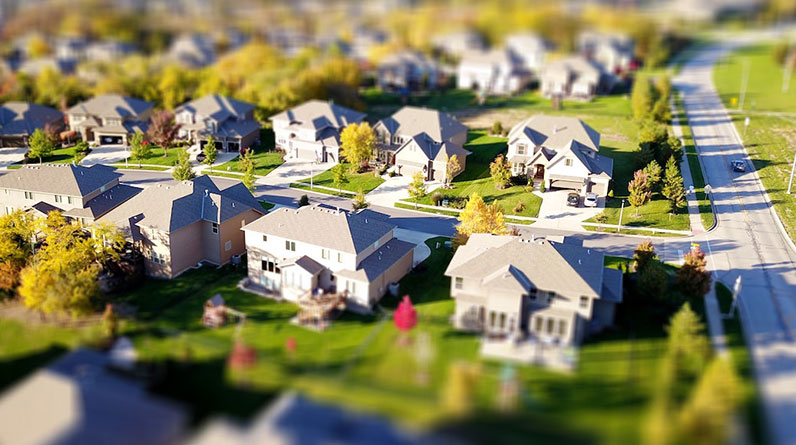
Composition is a vital part of drone photography. Whether you’re taking a sweeping landscape or an intimate portrait, the right composition is essential to capturing your subject’s full potential.
The key to composing a good drone photo is to be confident in your own style and understand how to use the camera’s controls to your advantage. The best way to develop this skill is to practice, so try out a few different shots before you decide on the one that’s right for you.
When composing a shot, look for patterns and symmetry that can add depth to your image and tell the story you want to convey. This is particularly true of landscapes and can be achieved by shooting from a lower angle than usual.
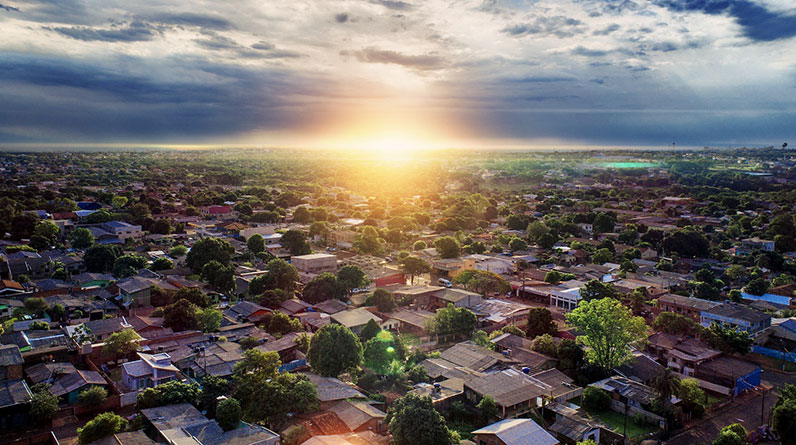
Another key component of a great drone photo is lighting. You should always take note of the time of day and the sun’s position in the sky, as they affect how much light is available for your photos.
In addition, it’s important to pay close attention to the color temperature of your scene. As with ground-level photography, this is also a vital part of getting your picture to look its best.
You should consider the color of your subject, as well as the colors of any objects in the scene you want to highlight. Typically, you can find the correct color balance by looking at a chart that displays the numeric values for light sources (clear blue sky, cloudy sky, daylight, morning/evening sun, and sunrise/sunset).
It’s also worth checking the shutter speed you’re using, as this will affect how much blur you can get in your image. A slow shutter speed allows you to capture more detail in darker areas, while a fast shutter speed can make brighter areas appear less sharp.
Finally, the type of camera you’re using will also have an impact on your results. A DSLR or mirrorless camera can help you shoot high-quality, stunning drone images.
You can also use a camera with a wider field of view, such as a GoPro action camera, which will allow you to take more dramatic photos. You’ll also need a camera that can capture long-exposure images, which can be very effective for capturing epic landscapes and nighttime scenes.
Camera Settings
Drone cameras offer a range of different settings and features that can help improve the quality of drone photos and videos. Understanding these settings and features can help you get the most out of your drone and ensure that you are able to capture stunning images and videos that will last a lifetime.
One of the most common camera settings that you’ll want to adjust when taking a drone photo is image size. The DJIGo4 app offers a variety of image sizes, including 4:3, 3:2, and 16:9.
While these numbers may seem confusing, they’re actually fractions of a second, so 250 is really 1/250th of a second (not an inch). Remember that you’ll need to shoot RAW and in manual mode for the best results when editing your drone photo.
Another important camera setting that you’ll want to adjust is exposure. This setting determines how much light is allowed to hit the digital sensor, which is an important part of capturing quality photos and videos.
Typically, you’ll want to increase the exposure if you’re shooting landscape-style drone photos, as this will help to produce high-quality images with more detail and clarity. On the other hand, you’ll want to decrease it if you’re shooting portrait-style drone photos, as this will reduce the amount of blur in your images.
Other camera settings that you’ll want to adjust are frame rate and white balance. The latter can affect the way that your images and videos look, as it can change the color balance of your images and videos.
If you’re shooting in bright sunlight, you may need to use an ND filter, which can help to reduce the amount of glare from the sun that you’ll see in your drone photos and videos. However, you’ll need to make sure that you’re using the correct filter for the scene you’re shooting in.
Finally, you’ll need to decide whether or not you’re going to shoot your drone photos and videos in HDR mode. This setting will allow you to take multiple bracketed shots and combine them into a single HDR image, which can be useful for capturing dynamic and stunning images.
Taking the Shot
Drone photography is a unique and exciting way to capture beautiful landscapes, aerial photos of buildings, monuments, and more. But it requires some knowledge of the basics to get the most out of your drone shoots.
To take a great shot, it is essential to understand the camera settings and to follow basic photography principles like the rule of thirds, leading lines, and symmetry. Additionally, your subject should provide a sense of scale and help to focus the photo.
Another key element of successful drone photography is to use the right lighting. This means adjusting the temperature of your white balance so that it looks neutral in every shot you take.
When photographing a sunset, this is especially important because the light in the sky can darken the landscape if it is not adjusted correctly. This is where ND (Neutral Density) filters come in handy.
An ND filter blocks the amount of light that hits your camera sensor and allows you to use longer shutter speeds for motion blur. This is a great way to create dramatic sunset images, so make sure to pick up an ND16 or ND32 filter before your next drone flight and see what you can come up with!
A drone is also a great tool for taking long exposures during the day. This technique can add drama to a photo of a swaying tree or the crashing ocean.
To take this type of long exposure, you will need to be in manual mode and set the ISO at 100. You can then adjust the shutter speed to your liking and experiment with different settings until you find the right combination that works best for your photo.
As with all kinds of photography, you can enhance your drone shots by using the right post-processing software. One such software is Skylum Luminar Neo, which has powerful features that can help you turn your aerial photos into something spectacular.
Post-Flight
Drones are an incredible tool for any photographer, whether you’re an experienced or a beginner. They allow you to shoot from new angles that would otherwise be impossible. With a little creativity, you can capture the most incredible shots.
The first step in getting started with drone photography is selecting the right drone for your needs and budget. Drones come in all shapes and sizes, from tiny, dedicated cameras that can only carry one camera to large, powerful models that can easily support DSLRs and other professional gear.
You should choose a drone that is comfortable to handle and is able to take high-quality photos. You’ll also want to make sure that it has a high-resolution camera sensor so that you can take photos at a high resolution without having to compromise on the quality of the image.
Another important factor to consider when choosing a drone is the battery life. While most drones can last for around 10 minutes, you may wish to invest in an extra battery if you plan on flying long-term.
If you’re looking for a longer battery life, look for a drone that supports more than one battery, and remember to charge the batteries after every flight. This will ensure that you don’t run out of power and miss out on your favorite shot.
Depending on the location that you’re shooting, the temperature of the sky can impact the image that you take. For example, a clear blue sky will look warmer than a cloudy sky. To avoid this, pay close attention to the numeric values for different light sources before you head out to the field and shoot your images.
This will help you to get the best possible results for your photos, and it will save you time in post-flight processing.
When you’re ready to process your photographs, you can use any photo editing software that supports the format of your images. Adobe’s Lightroom is a great option for this, and it makes it easy to correct distortion issues.
The lighting and composition of your drone photo are just as important as the technical aspect of the shoot. You can use the same rules of composition that you apply to a normal camera, and the added benefit of a drone’s ability to capture different angles means that you have more opportunities to take great pictures than ever before!